Creating your model
Inserting the photos
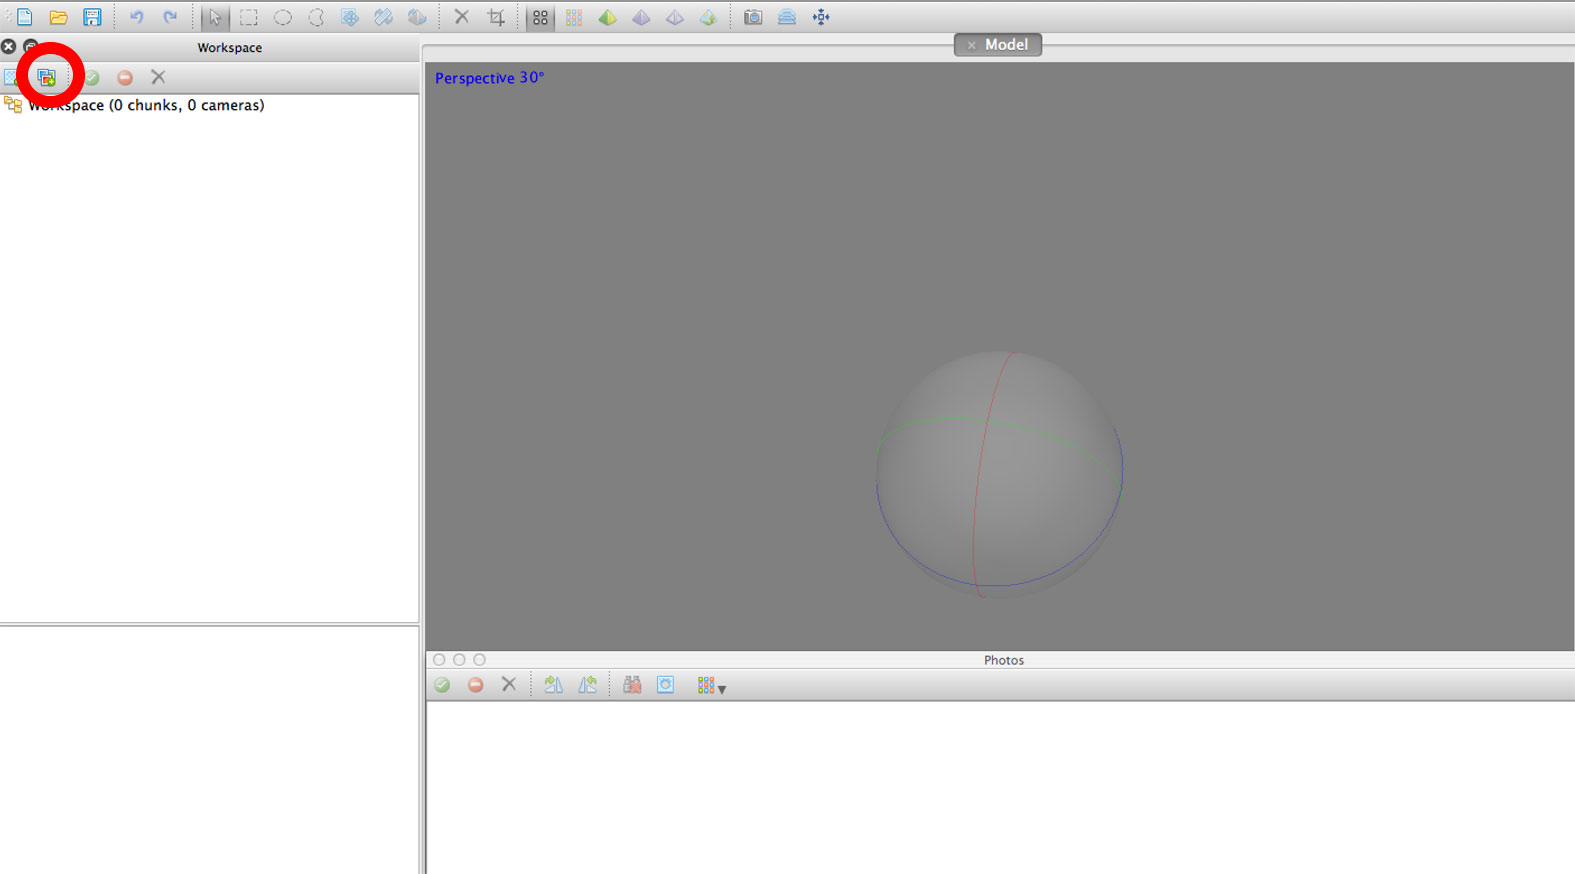
Once you have opened the program, click the following symbol (circled in red) to insert your photographs.
You will need to go through each folder and select your photos. You should exclude the images with the object removed.
In AgiSoft it's possible to use 'chunks' to sort your photographs. For this example I'll be inserting all the photographs in the same chunk.
After inserting your photos into PhotoScan, save the project inside your 'Additional_files' folder as a .psz.

Masking
! Please note. In PhotoScan version 1.4.1 you can create background suppression from a single mask. There is a good guide here. I have tried both this method and the method outlined below. Both give slightly different results so I would recommend trying the single mask suppression first and if the results are not satisfactory give the method below a try--->
Masking improves the quality of your model by removing unwanted background details, such as creases in your backdrop. This is important when using the turntable method, as the object is moving but the background is not. In this instance you want PhotoScan to ignore the background as much as possible.
Masking can be a very time consuming process, particularly when masks are created by hand. A process where the user manually draws an outline around every photograph.
PhotoScan also supports generated masks using the background difference technique. This is what you will be using for this workflow, and is why you need a photograph for each level without an object.
Select the photographs for one folder (low, mid, or high) Then select Workflow > Batch Process
Use the settings in the image below.
Note: leave Operation on the default "Replacement".

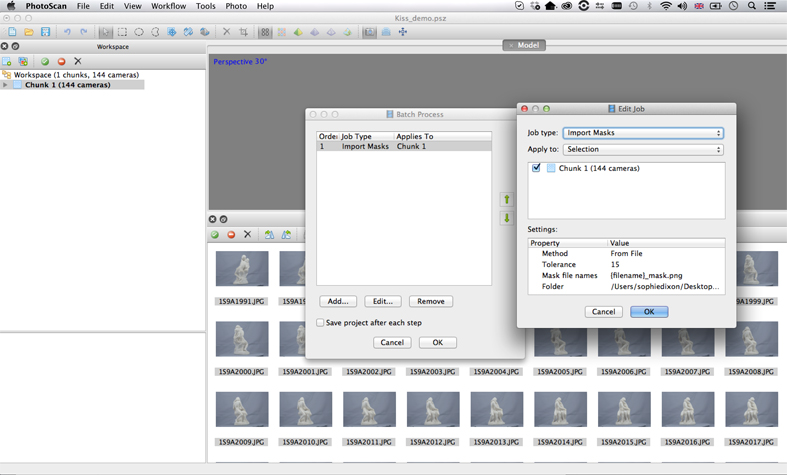
Under 'Mask file names' enter the filename of the image without an object (for the folder of photographs you are masking).
! Note: In the image above it says .png - this should be .jpg also choose dropdown 'Method - From Background'
Under 'folder' You must select the folder where the photographs you are masking are stored. For example, here I have selected the _low _folder because I am masking images stored in the low folder.
The tolerance determines how the object is distinguished from the background and requires some adjusting through trial and error.
You can check how the masks have been affected by clicking the mask icon.
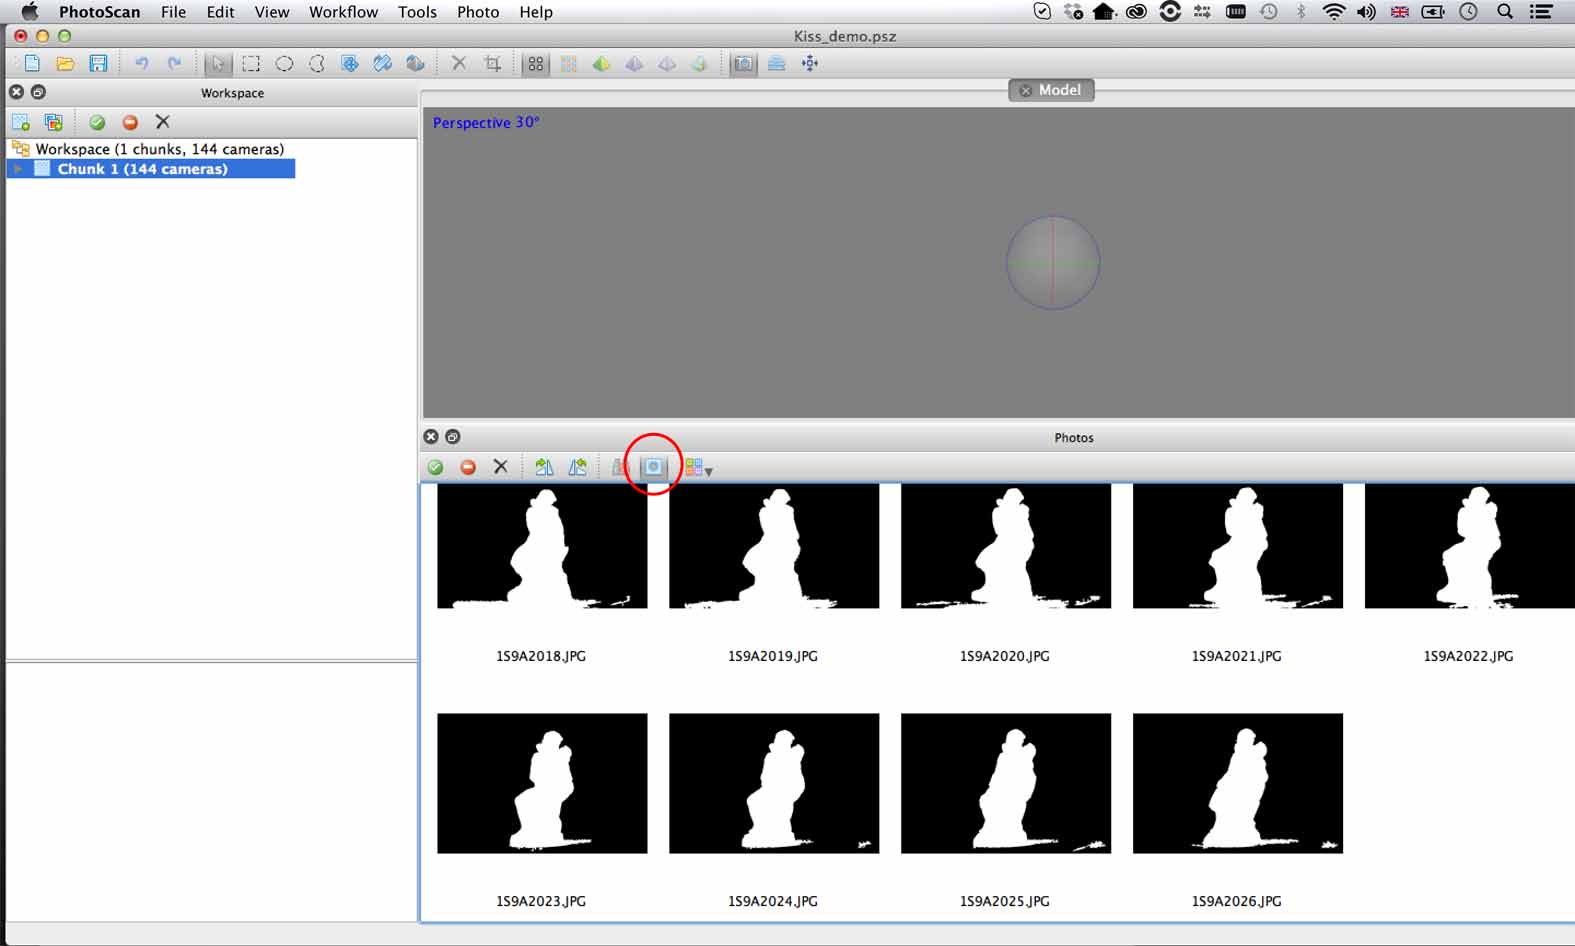
Ideally you want a mask which cuts out the background but doesn't cut into the model. For this project I'm using a tolerance between 10 and 15.
! Not all objects will mask this effectively. If you have to choose between cutting into the model, or revealing a little more of the background, always choose the latter.
Repeat this step until you find the correct setting for your object.
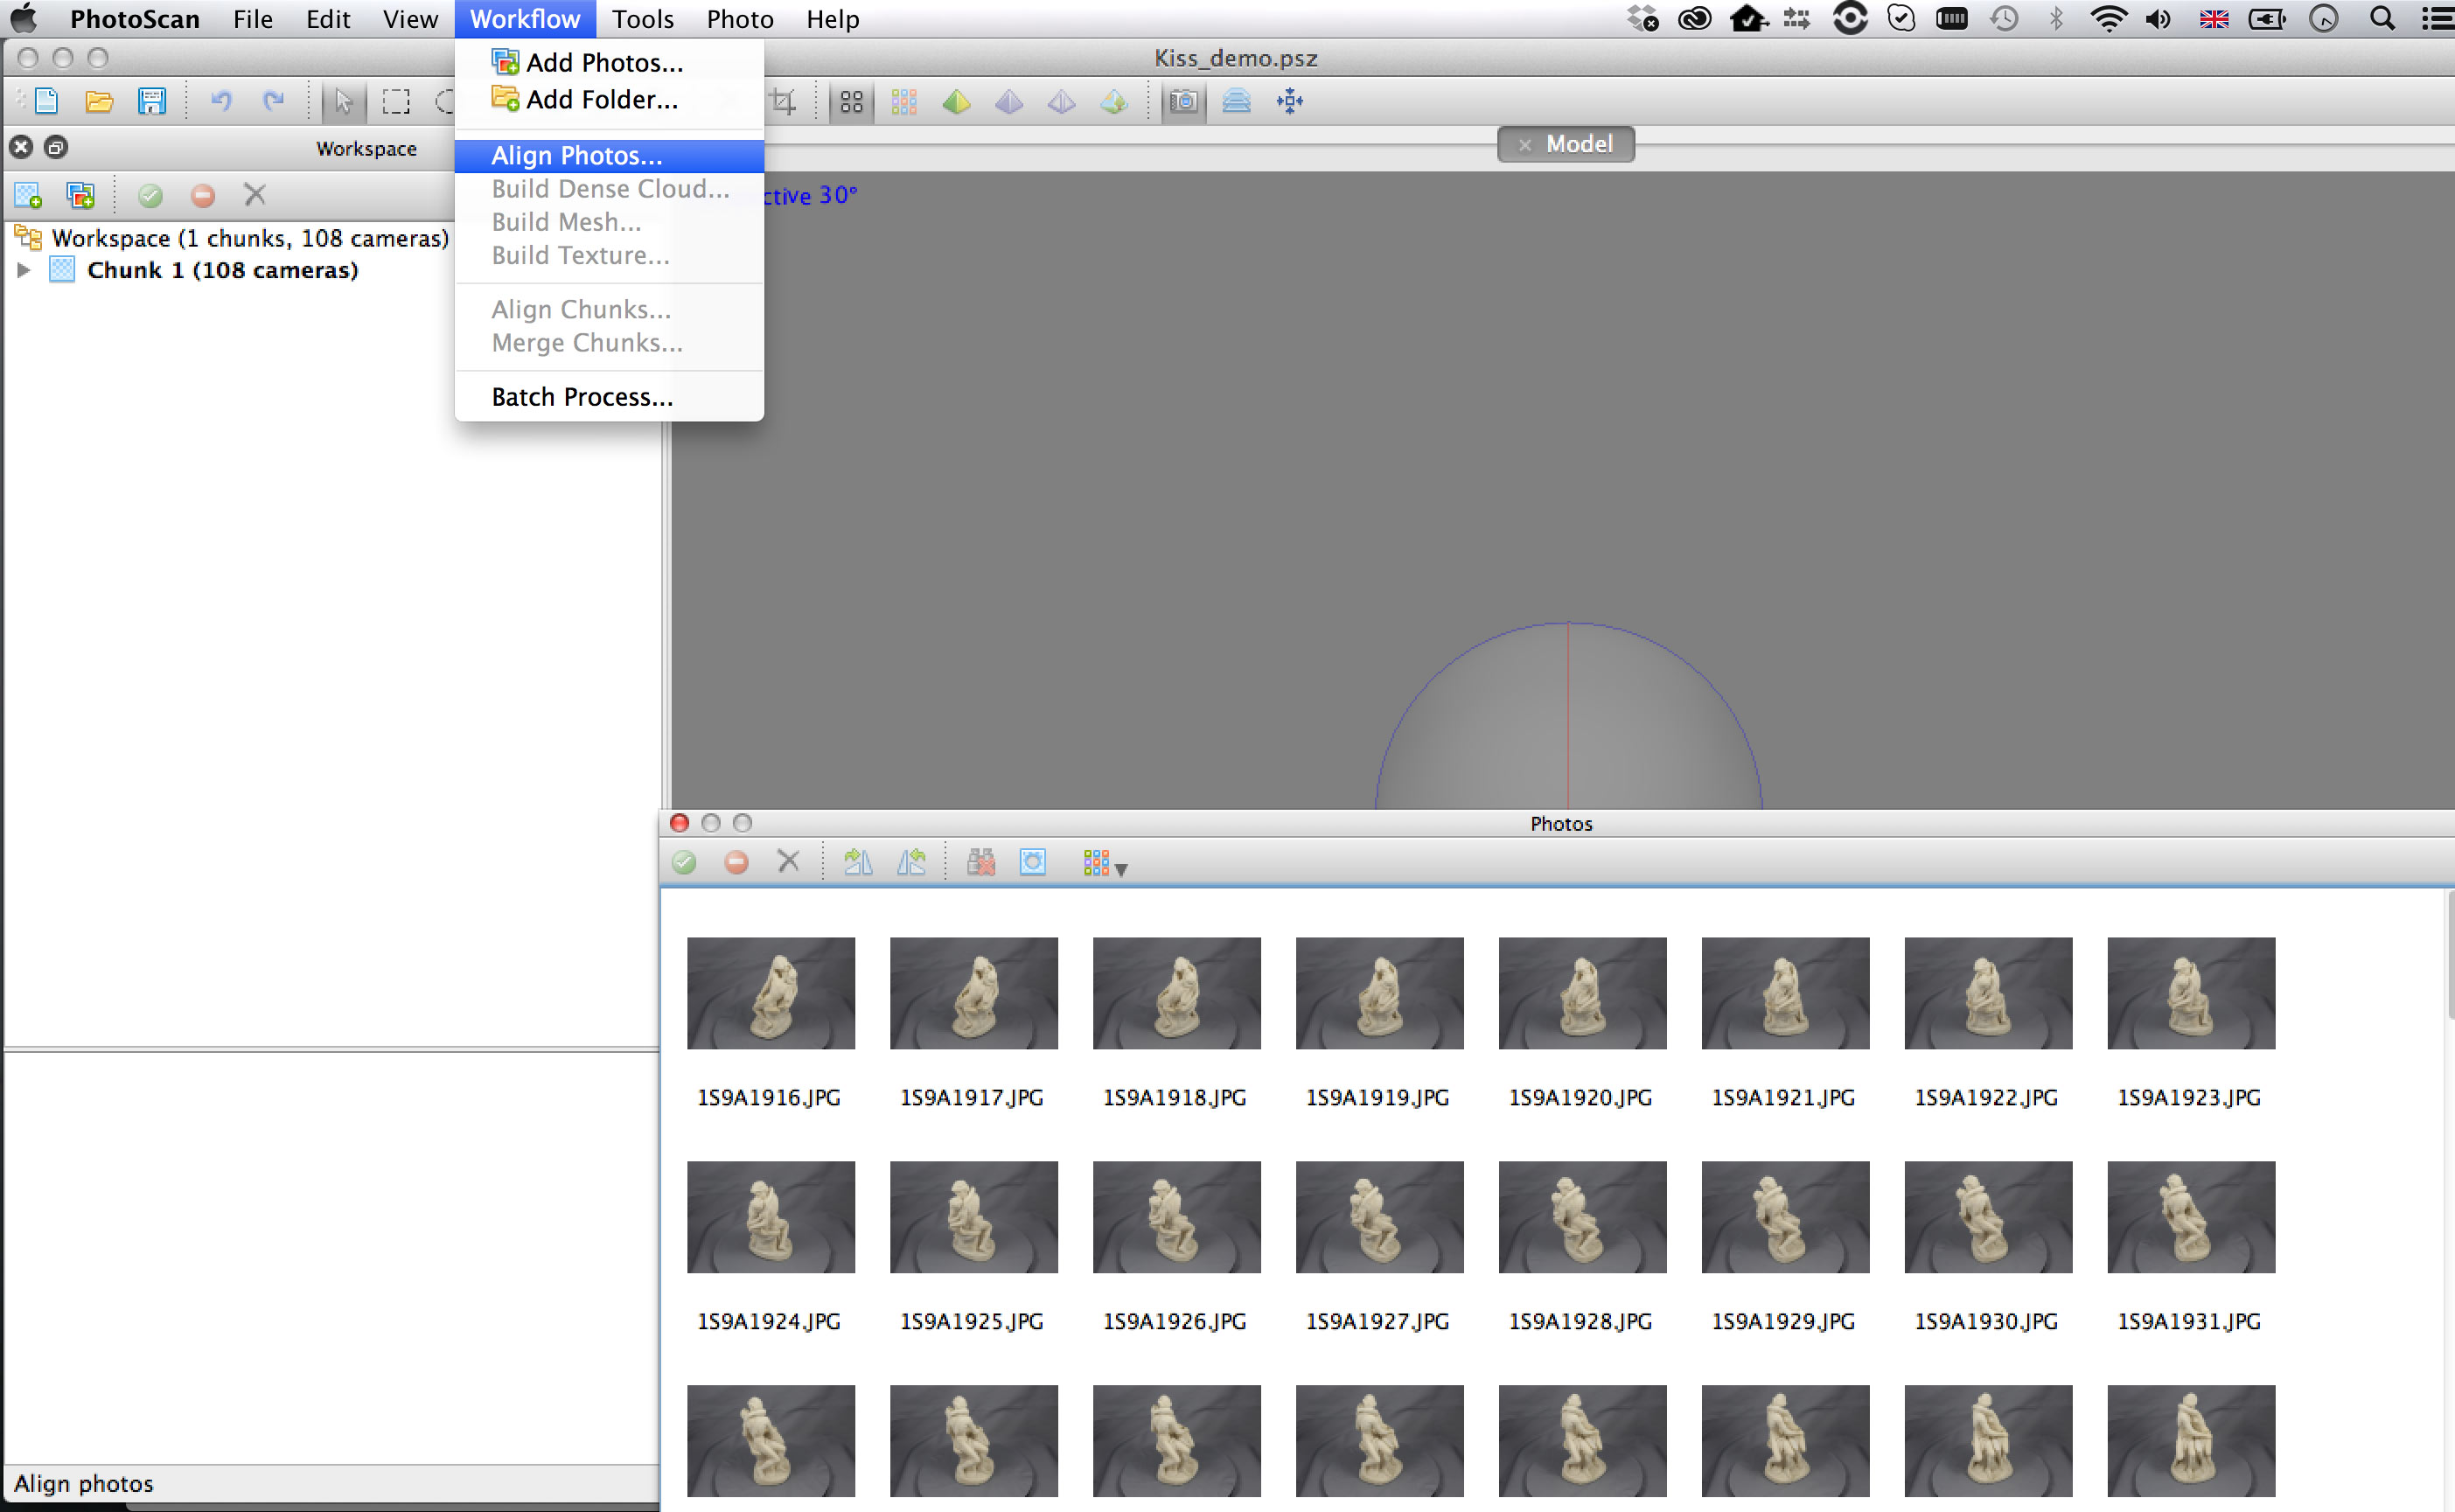
Once you have masked all the photos, select Workflow > Align Photos...

...and use the following settings. Although it's tempting to use the highest settings, I recommend using 'Medium' as the alignment can take a long time. Ensure you have selected 'Constrain features by mask' and leave 'Adaptive camera model fitting' unchecked.


After the alignment you will see the generated 'sparse point cloud'. The blue rectangles represent the camera positions and be toggled on and off using the camera button at the top of the display.

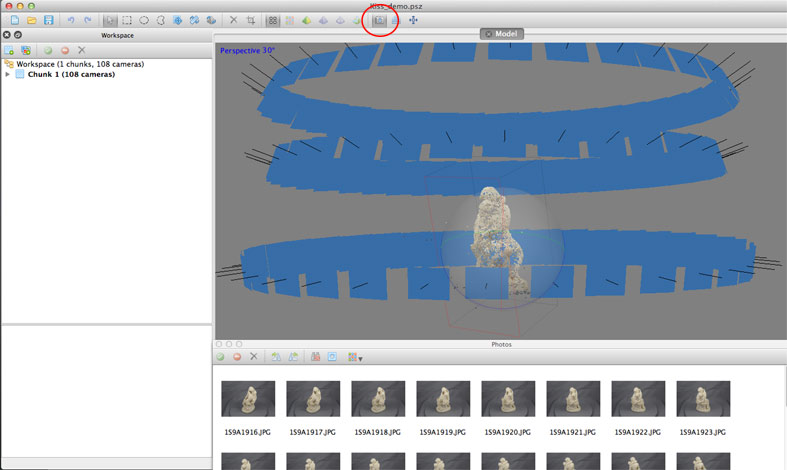
At this stage you can use the lasso tool to remove any unwanted points around the object. This is worthwhile as it increases the accuracy of the final model. To delete your points, press the black cross to the right of the lasso tool.

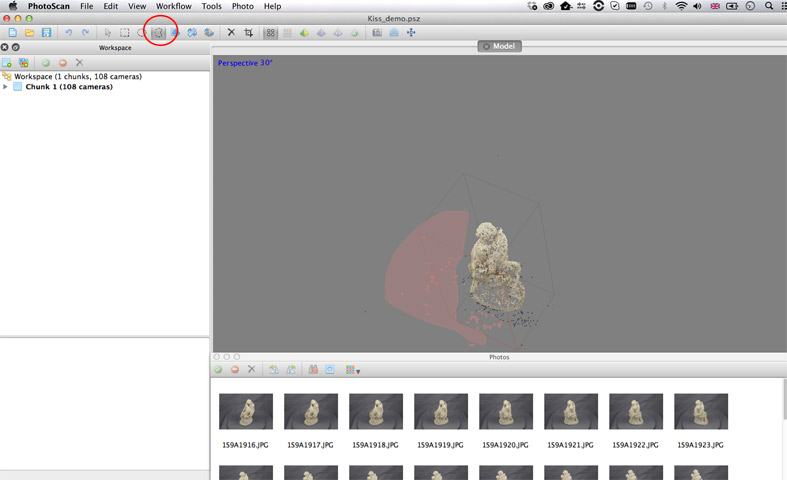
Select Workflow > Build Dense Cloud, and use the following settings.

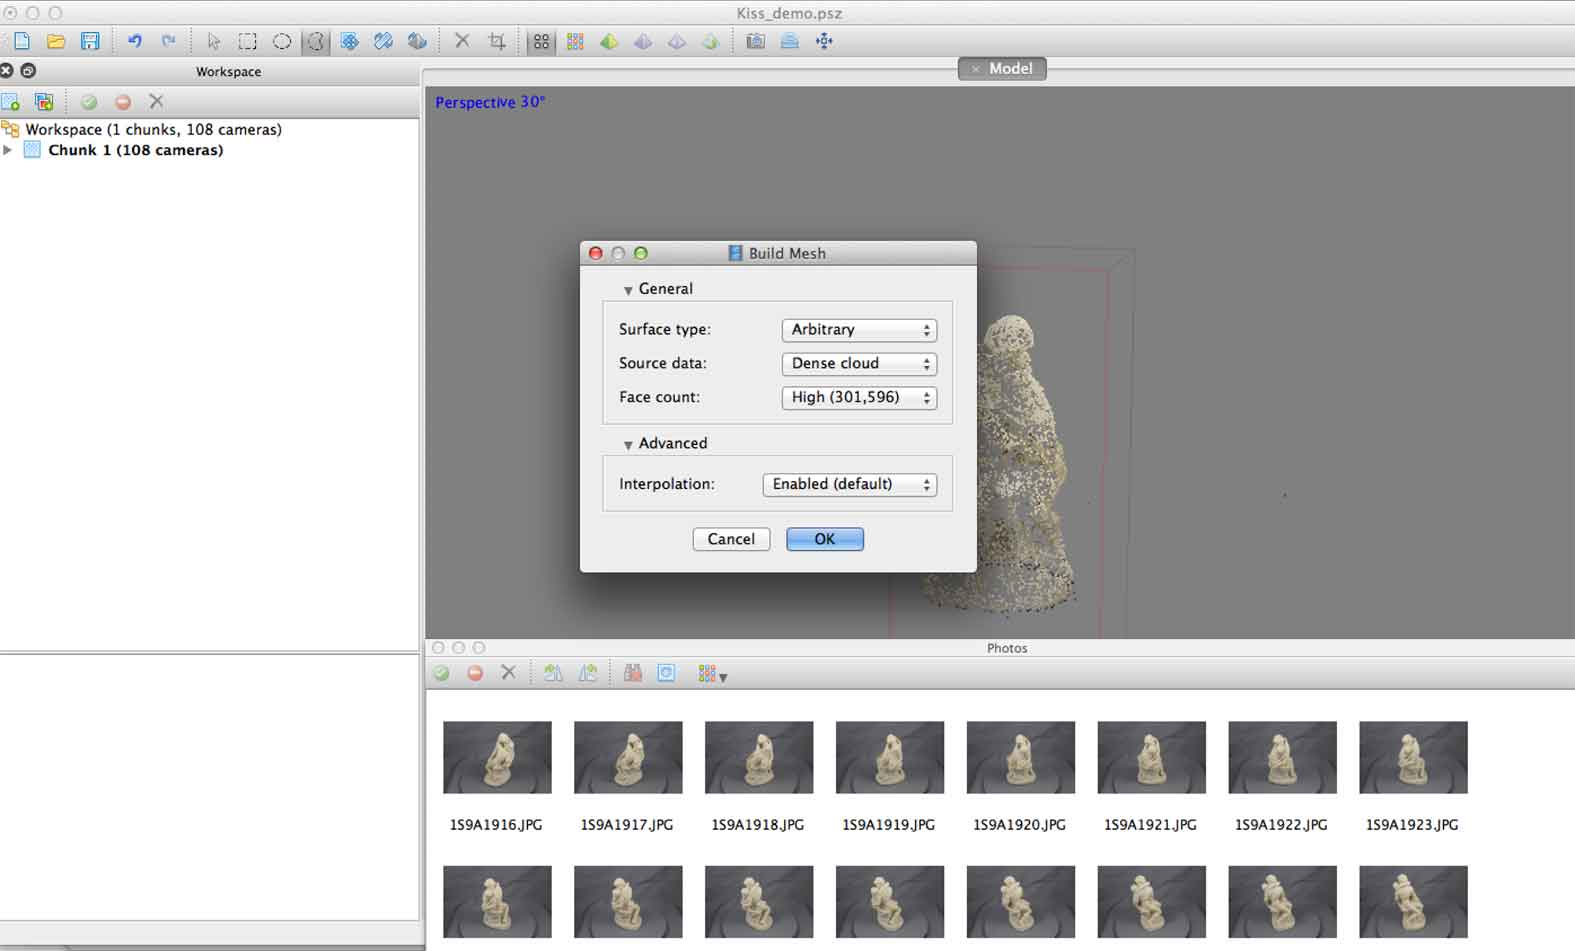
Once you have the dense cloud, select Workflow > Build Mesh.
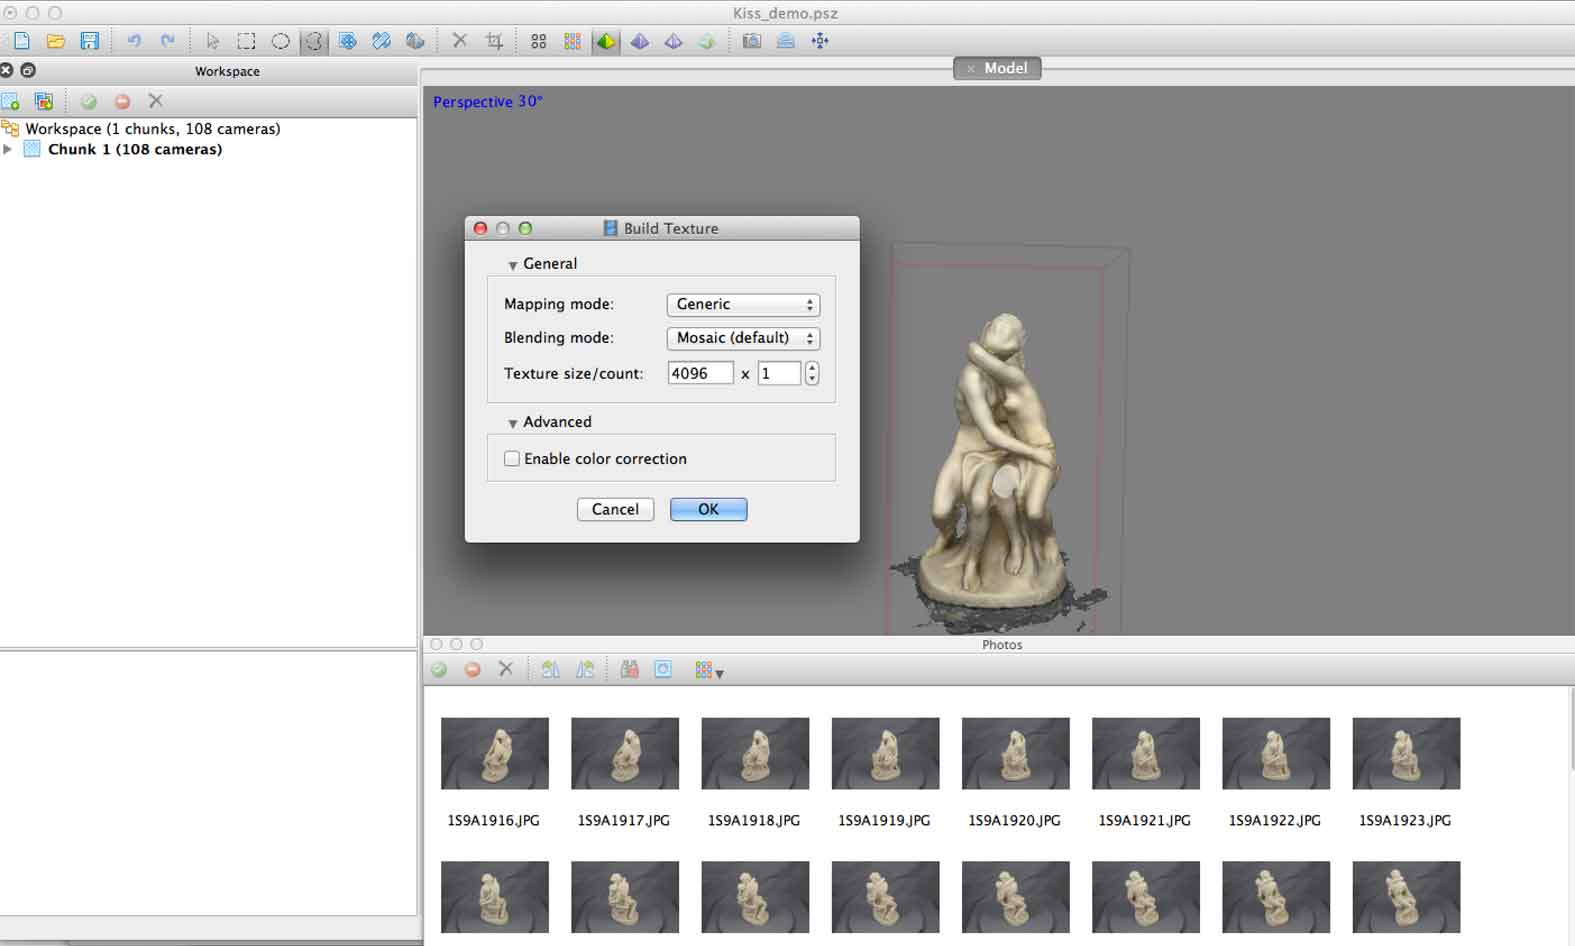
Finally, when the mesh has been generated, selectWorkflow > Build Texture. Use the following settings:
! In the newer version of PhotoScan, keep 'Enable hole filling' at default (selected)
Congratulations! You have now made your model.
In the next chapter 'Exporting' we will outline how to export your model for use in platforms such as the Universal Viewer (UV)