Alignment and post-processing
To get your .obj into the Universal Viewer it is recommended to go through the following processes:
Align the model
Reduce the number of vertices in the mesh (decimation)
Generate a normal map
There are many ways to do this but I personally use Blender, a free and open source 3D creation suite. In this sub-chapter I will explain how to align and decimate your model in Blender. The next sub-chapter is dedicated to using Blender to generate a normal map.
Importing to Blender
Blender is a remarkable free and open source 3D creation suite. It is a good choice for preparing your models for web as it works on both Mac and PC.
Download, install and run Blender.
Press the ‘a’ key on your keyboard to select all objects (cube, camera) in your default scene.
Then press ‘x’ and select ‘delete’.
Now select File > Import > Wavefront (.obj)
Navigate to the .obj file you exported from PhotoScan, select it and click the ‘Import Obj’ button in the top right corner of your screen.
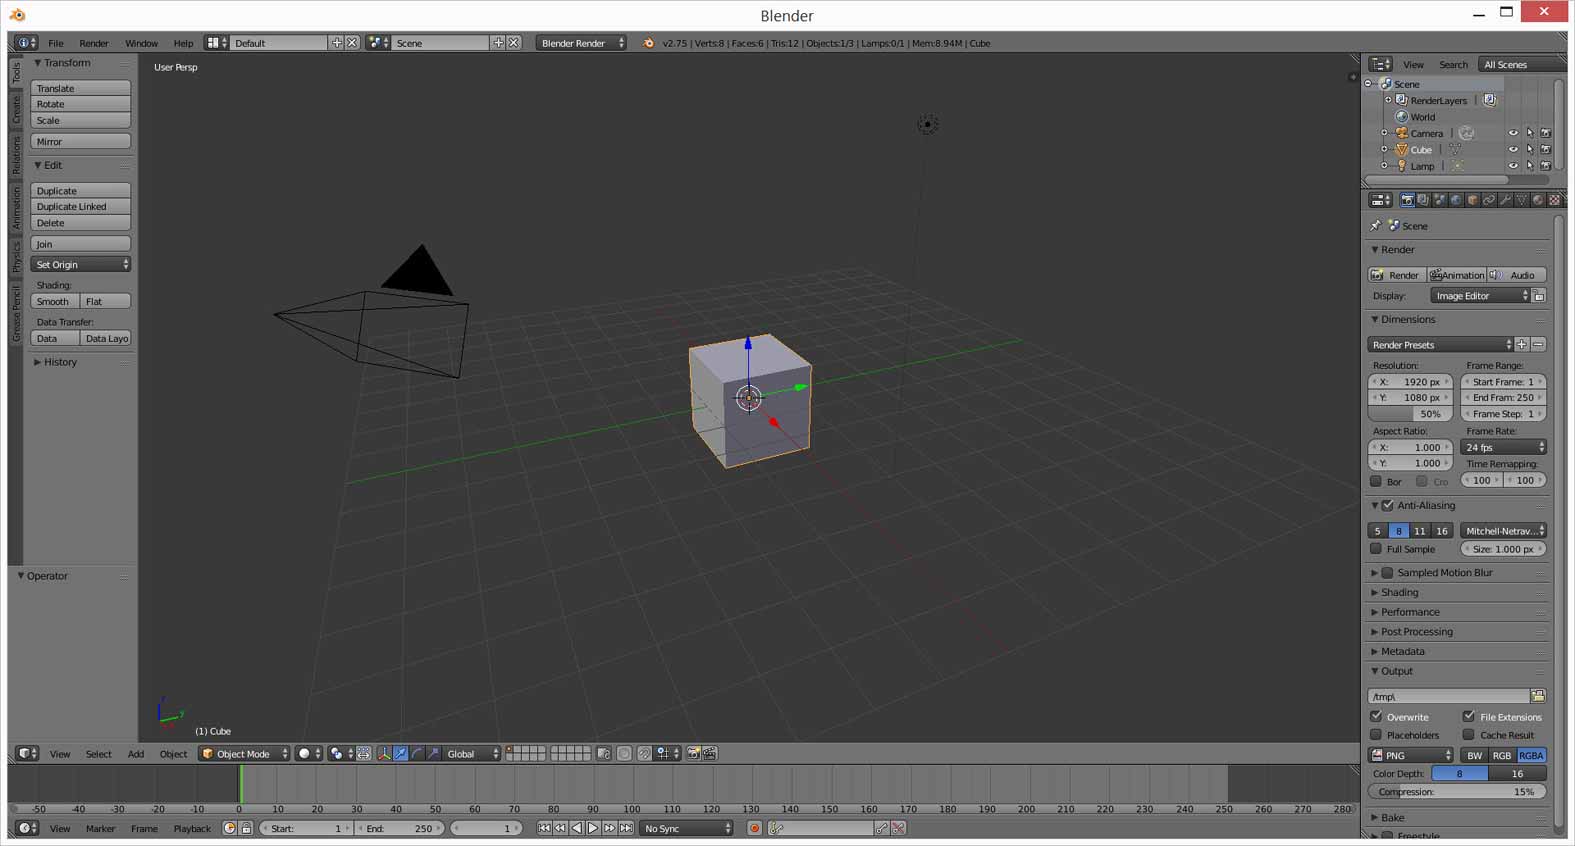
Wait for a few seconds, and you should see something like this:

As you can see, the object is not positioned in the center of your scene. You will need to manually correct the orientation in Blender in order for it to display properly in applications like Sketchfab or the Universal Viewer.
The object is also not displaying its texture. Let’s correct that. Select ‘Texture’ in the Viewport Shading menu:
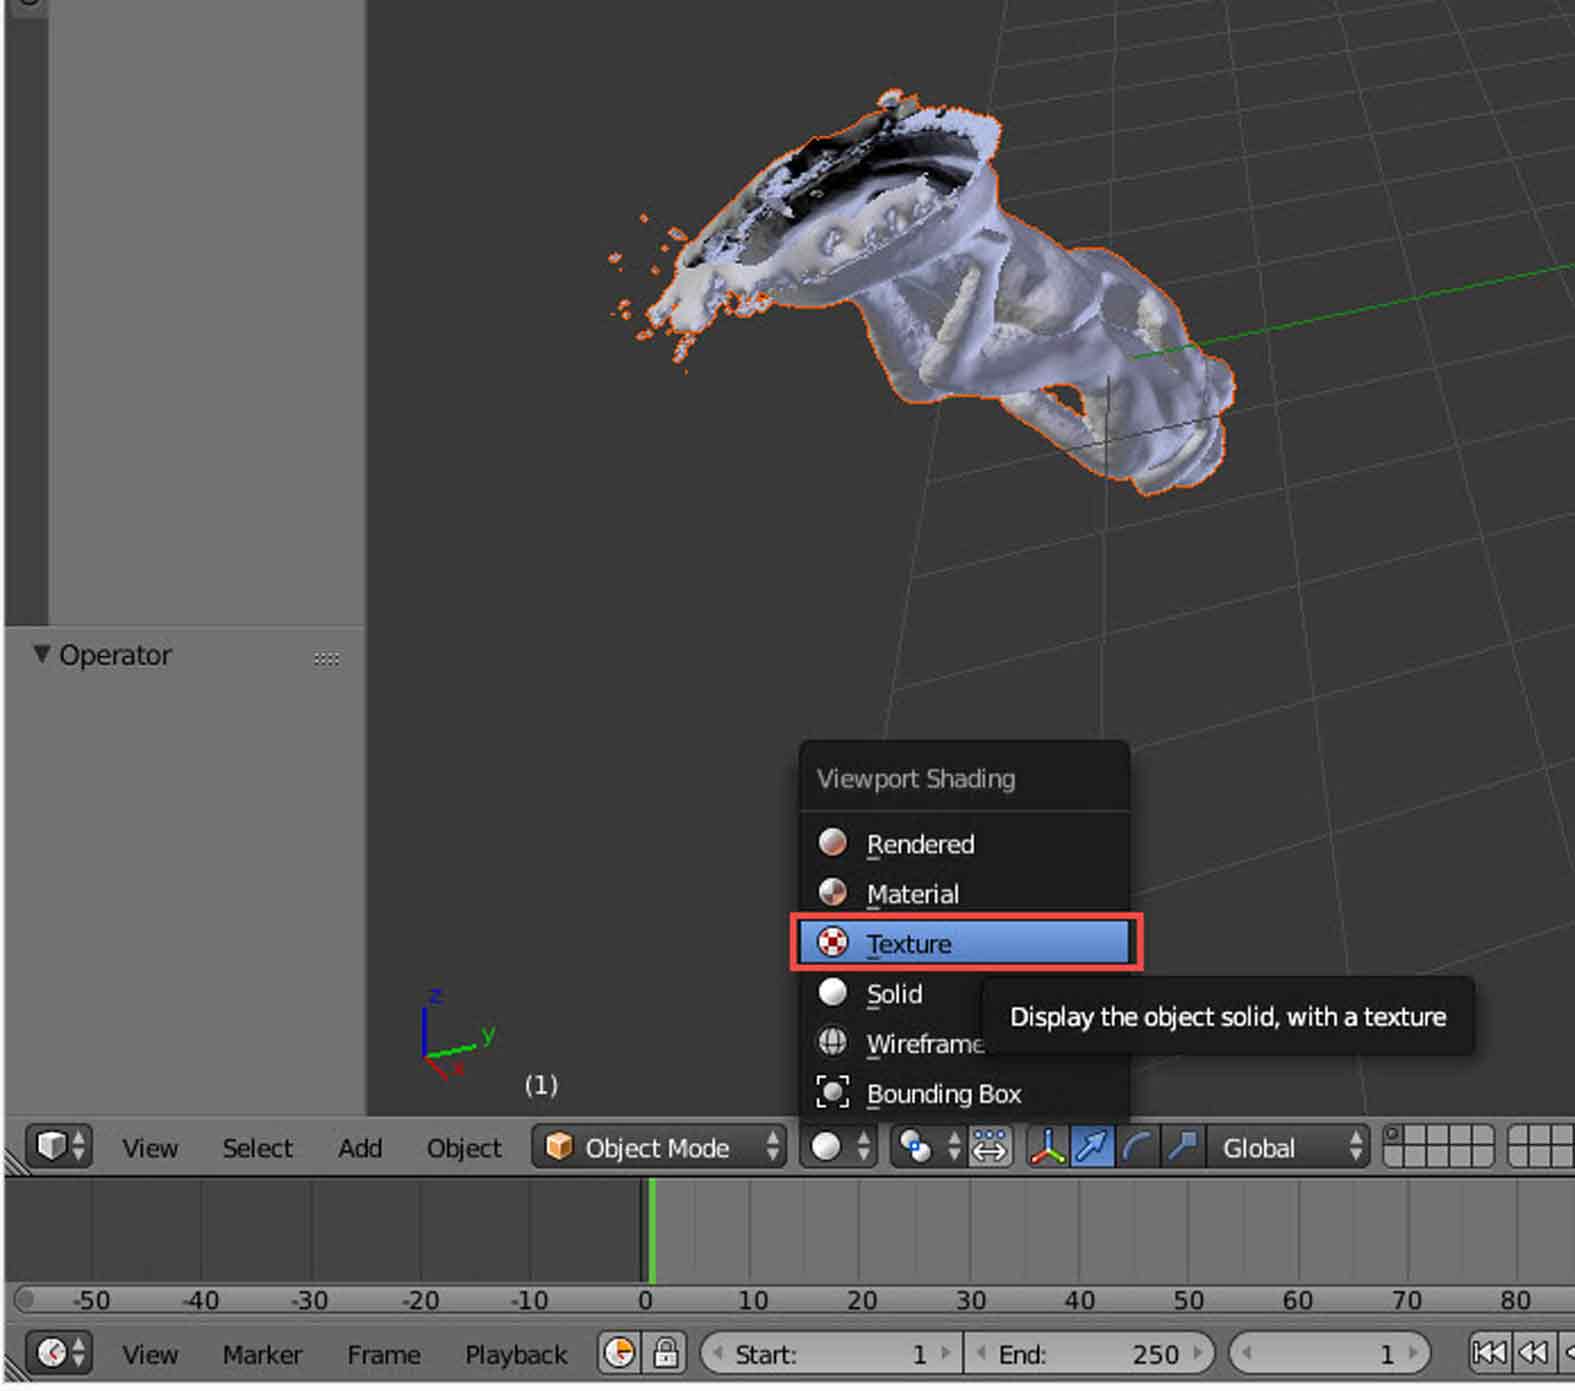
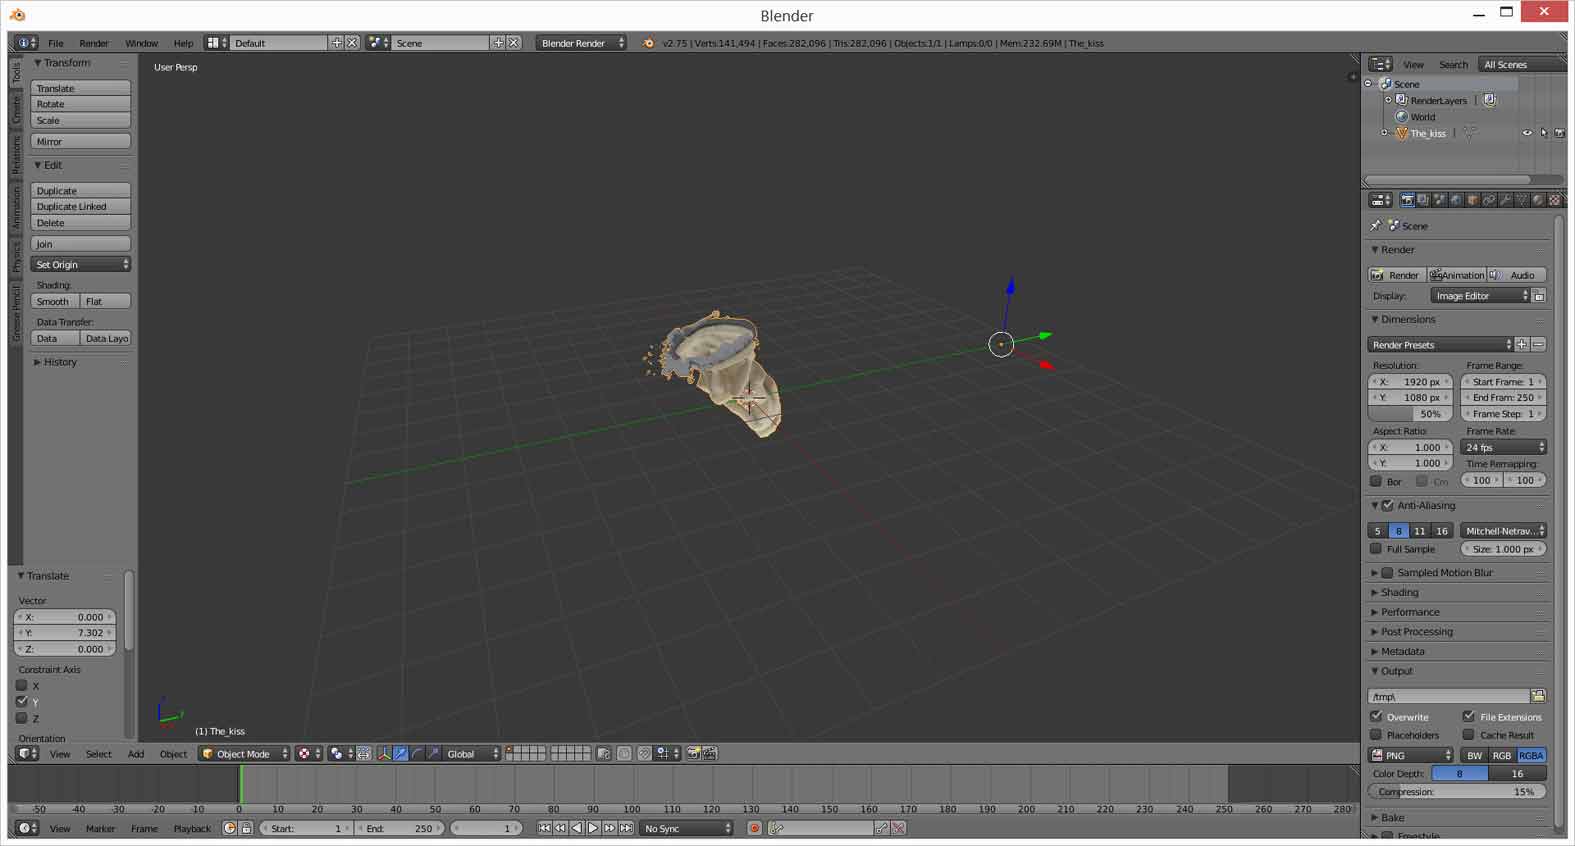
Your object should now show the texture generated by PhotoScan.
Right click on your object to select it, and use the ‘gizmo’ arrows (in this case the green) to drag your object into a central position.
In the bottom left corner of Blender, select View > Front
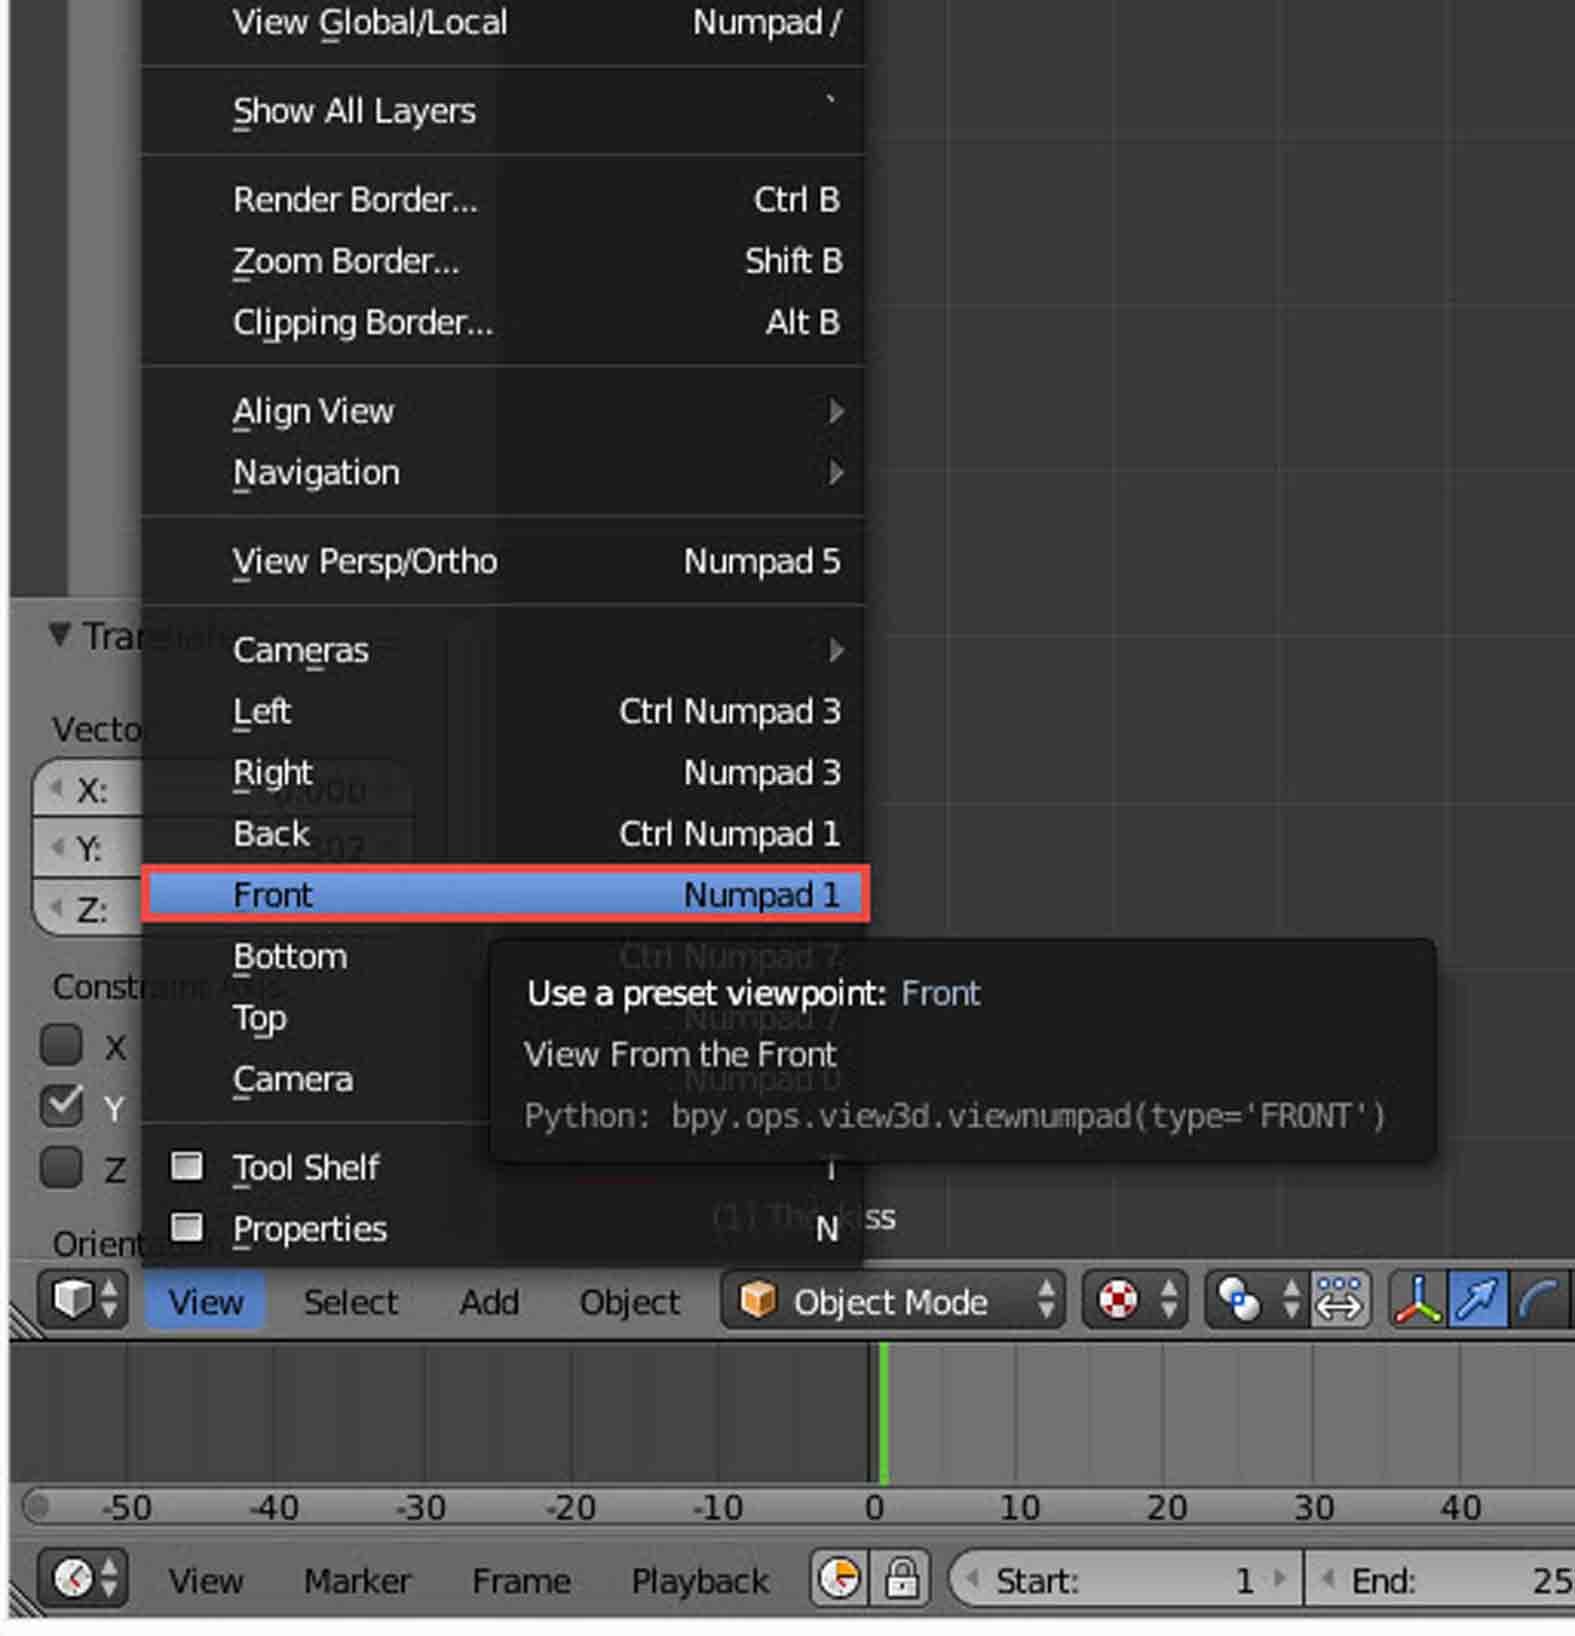
This will align the camera and remove perspective, making it easier to judge positioning.
Aligning your model
Select the rotation tool.
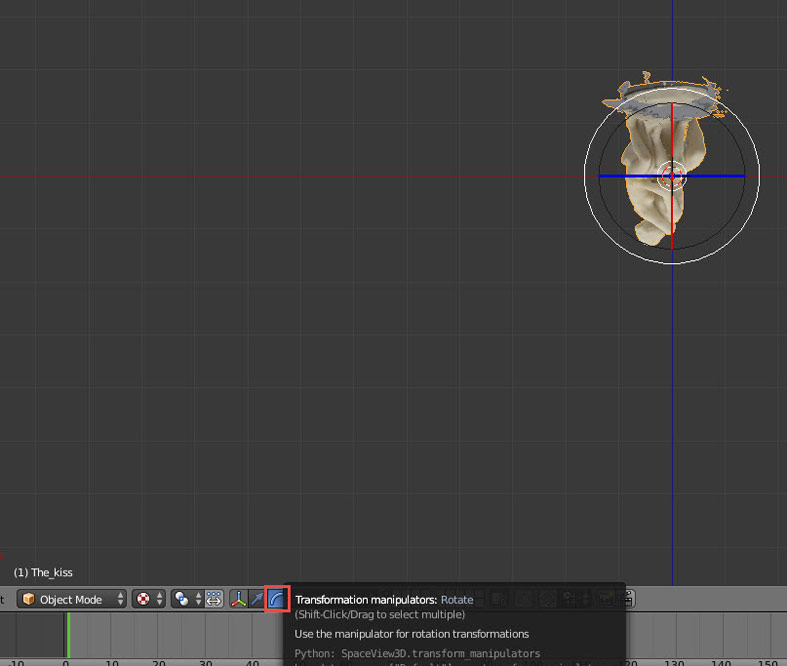
Use the white circle to rotate the object so it is the correct way up.
Alternatively, type ‘r’, then ‘180’, and press Enter.
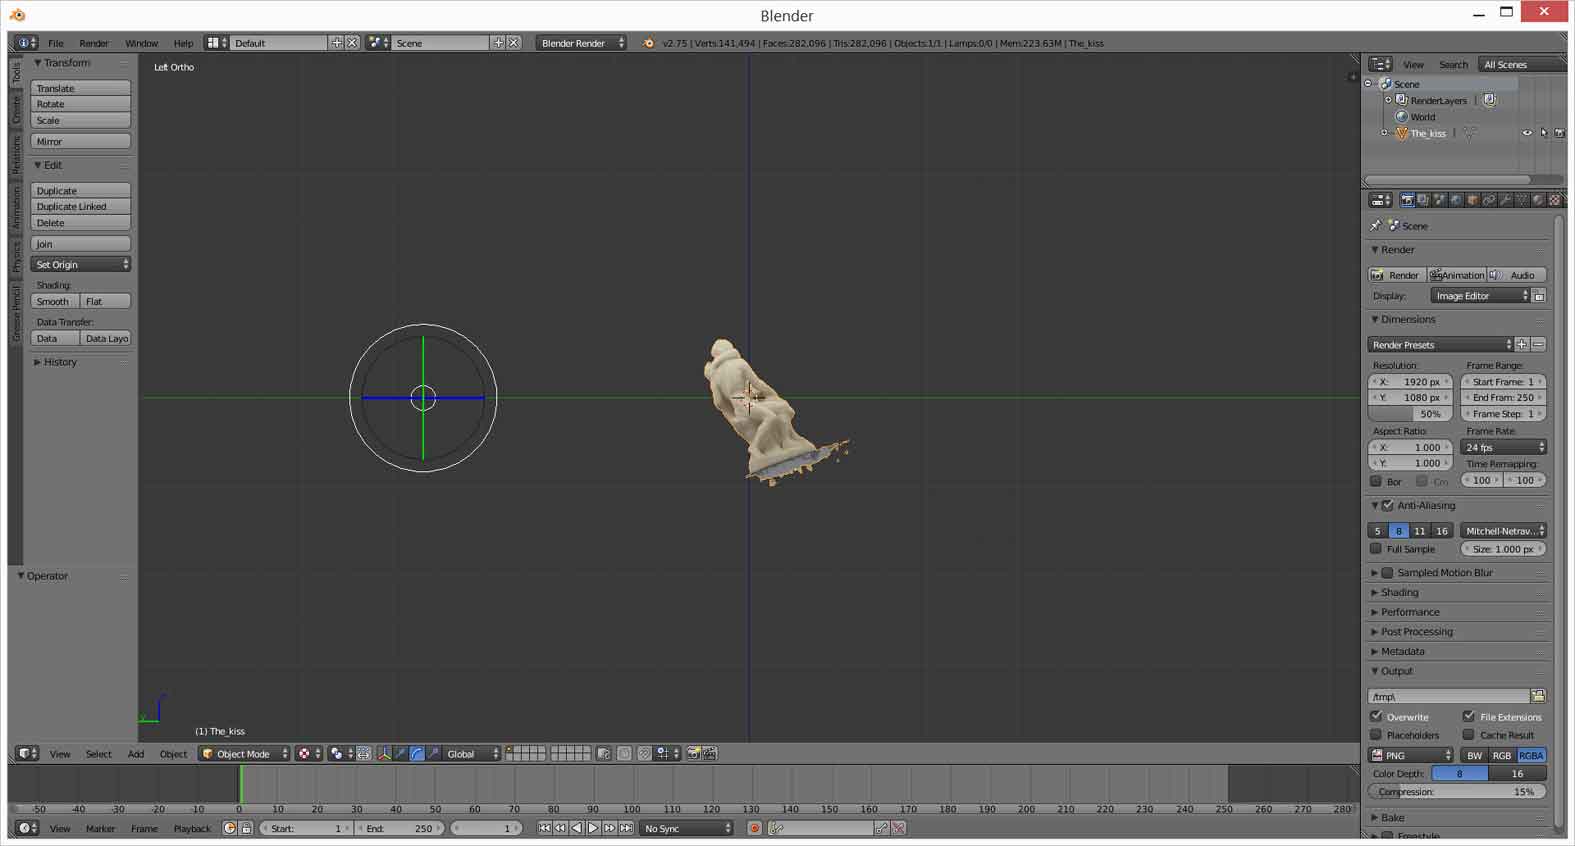
Changing the view to ‘Left’ reveals that the object’s center of rotation is not at its origin (within the object itself), but some distance to the left.
Select Object > Apply > Location to correct this.
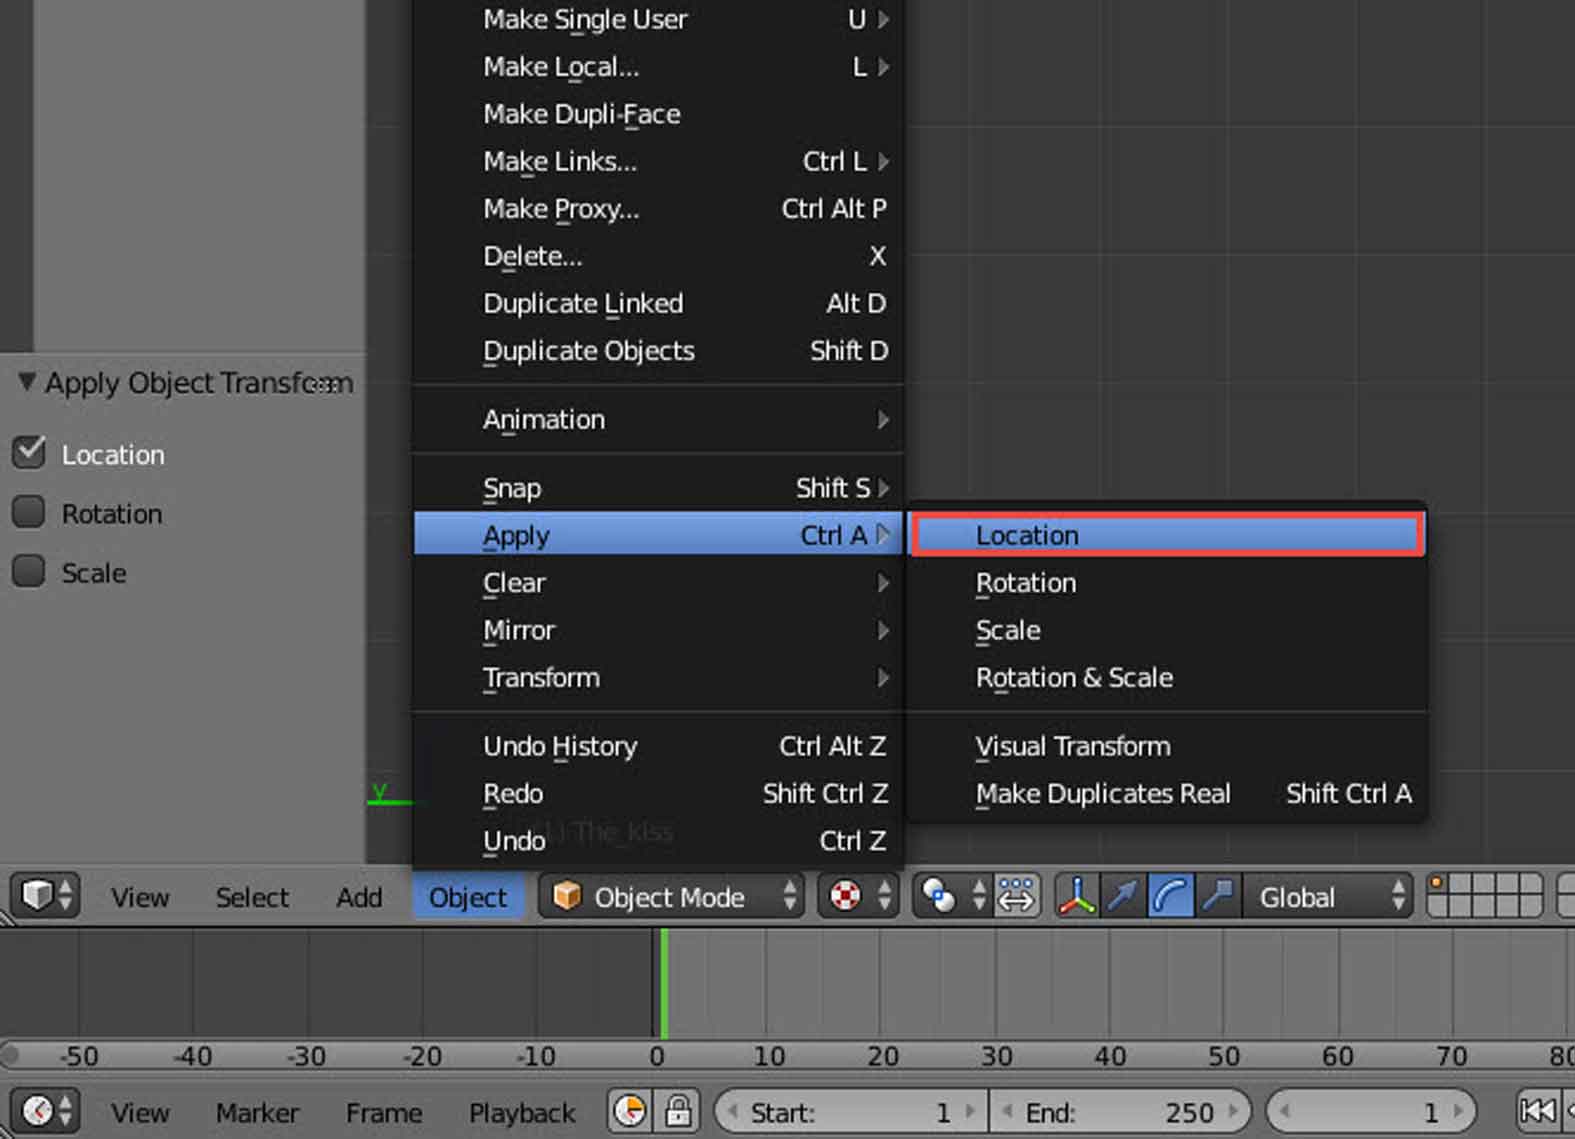
Continue to change the viewpoint to Top, Left, etc and use Object > Apply > Location until you are happy with the object’s orientation. You may also wish to scale your object. For this, you can type ‘s’ and drag until you are happy with the scale, then left mouse click to apply. If you know the correct final dimensions it is advisable to ensure your model matches these, as otherwise when viewing in VR it will appear the wrong size.
Finally, select Object > Apply > Rotation & Scale.
Reduce the number of vertices in the mesh (decimation)
Check the number of faces for your model.
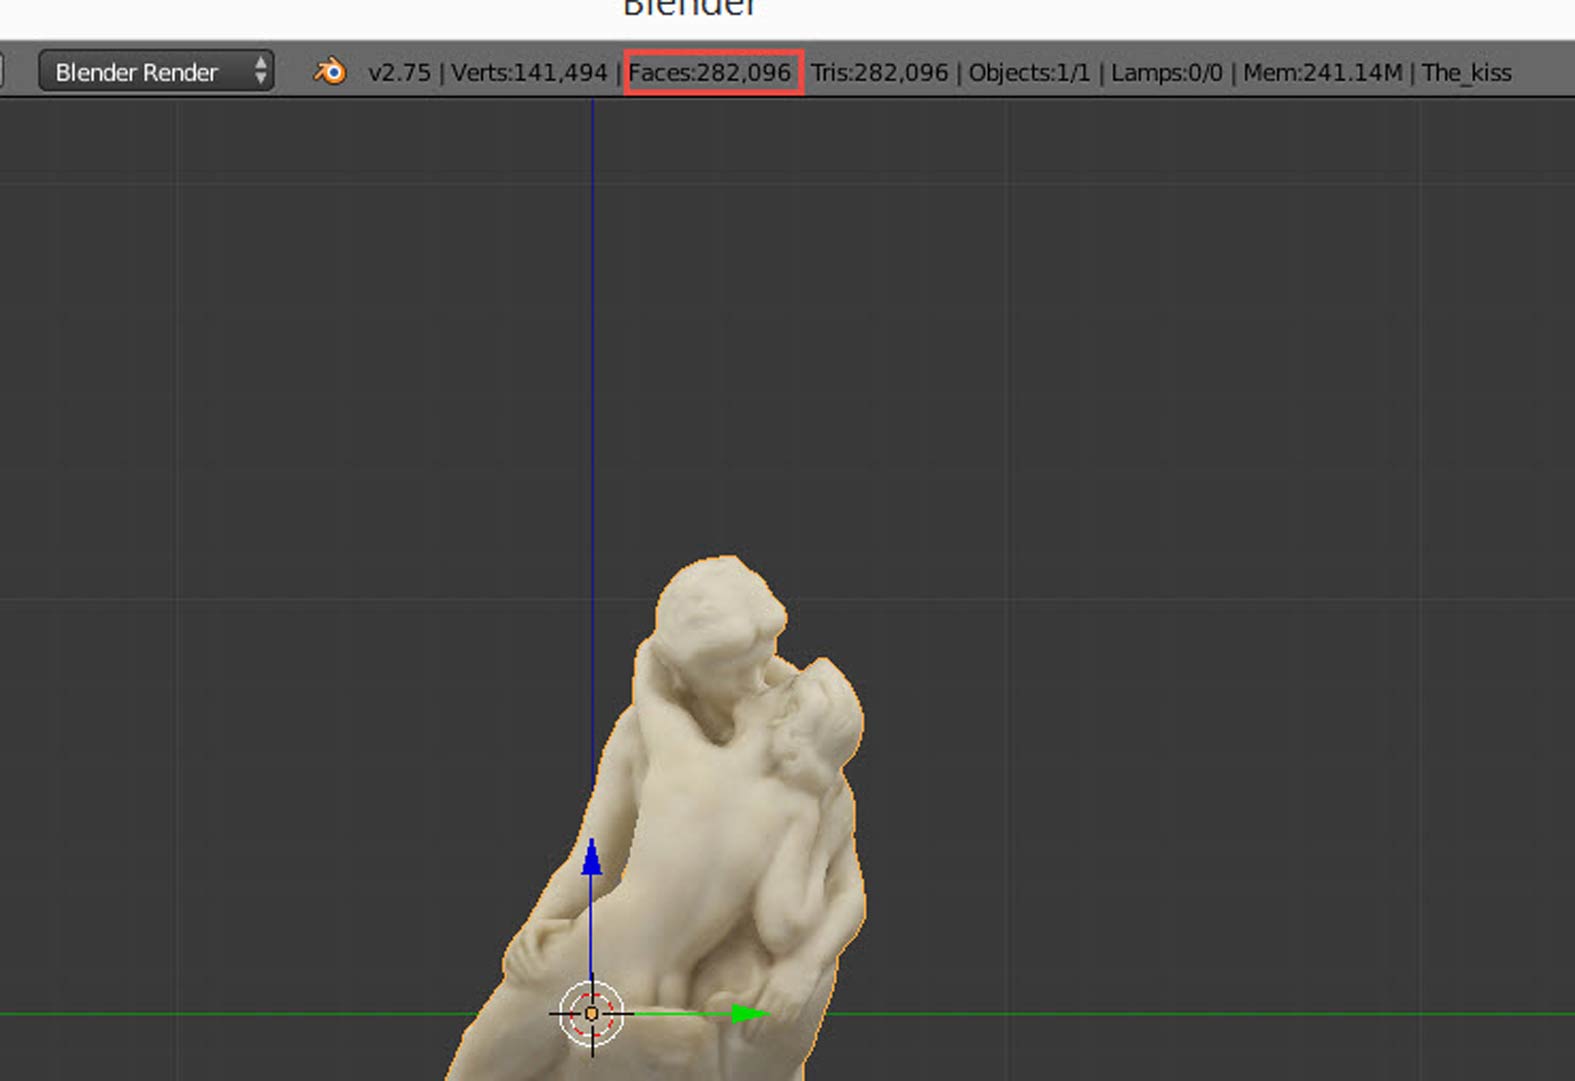
To optimise your model for the web, you should aim for around ~65,000 vertices for a file size under ~5MB.
To reduce the number of faces, you will need to add a decimation modifier to your object. In the panel on the right-hand-side of Blender, select the spanner icon, then ‘Add Modifier’, and ‘Decimate’.

Click on ‘Ratio’, and type in numbers e.g. ‘.7’ until the face count is in the desired range.
When decimating you do not need to press ‘apply’ as this 'bakes' the changes into the mesh. Not applying the modifier means you can alter it later if necessary.
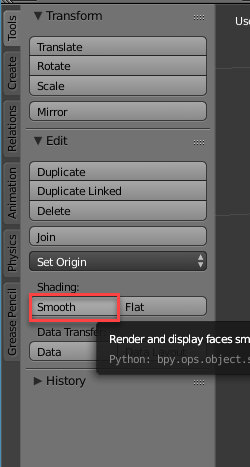
To ensure that your model remains smooth in appearance, select 'smooth shading' under Tools > Edit > Shading.